![]()
Installing support for PLGS versions 2.4
To use this format you must install plugins for both TransOmics™ Informatics and PLGS.
Adding the PLGS add-on to TransOmics™ Informatics
- Shut down TransOmics™ Informatics.
- Download the TransOmics™ Informatics add-on and double click the .msi file to install it.
- Open TransOmics™ Informatics. In the “Peptide Search” section, PLGS (*.xml) should now appear in the list of drop down options.
Adding the Progenesis plugin to your PLGS version 2.4 setup
- Download the PLGS plugin file nldplugin.jar.
- Save it to the PLGS plugin folder, e.g. C:\PLGS2.4\jars\nldplugin.jar.
- Open the PLGS browser.
- Click the Options | Automation Setup menu item.
- Select the PlugIns tab.
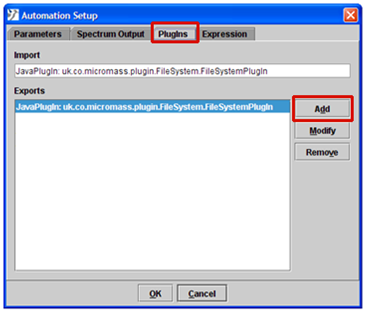
- Click the Add button.
- Select the Java Class option and enter the PlugIn Name and Class Path as shown below
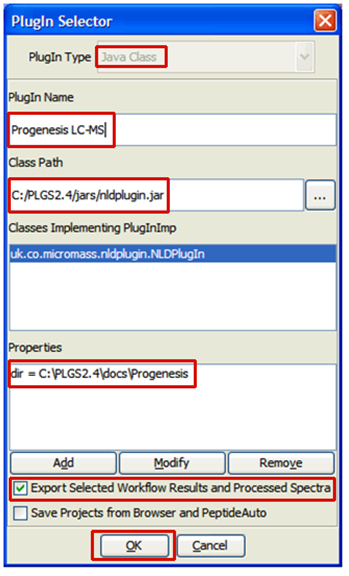
- Click the Add button bring up the Add/Modify properties dialog:
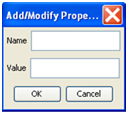
- Enter “dir” in the Name section
- Enter the folder you wish XML files to be exported to in the Value section:
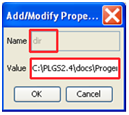
- Click OK on the Add/Modify Properties, PlugIn Selector and Automation Setup dialogs.
- Close and restart the PLGS browser to register the changes.